Multi-factor User Login
This topic covers how to configure multi-factor authentication for the user login (a.k.a. dual authentication) .
FEATURED TOPICS
Change User's Multi-Factor Settings
Overview and Prerequisites
The multi-factor login feature allows the user to add their email and phone to receive a multi-factor authentication contact (MFA), which the user must respond to at the time of their login.
PREREQUISITES AND NOTES
-
The system administrator must enable multi-factor authentication (MFA) for each individual user, in the system programming.
-
On the first logon attempt, the user must enter their contact information into the Multi-factor popup box.
-
When the user submits the contact information at the logon page, the system immediately issues a random OTP Code (plain text) to the user. The system issues a new/different code each time.
-
User must use the code to sign in each time. If the session expires or the user logs out, the system will generate a new code.
HOW TO OPEN THE MULTI-FACTOR SETTINGS
There is one way to open the Multi-Factor Settings page.
-
From the side menu, click the Settings icon.
-
From the cascading menu, choose the Multi-Factor option (it may be the only option the user can see, depending on user privileges). This option is not found on the Dashboard.
![]() × Settings Icon (side menu)
× Settings Icon (side menu)
Using the Multi-Factor Authentication
The user must set up a valid email and phone number when prompted the first time logging in.
The system will send an OTP Code to the user that must be entered in at the time of login.
-
The system administrator must enable the MFA feature for the individual user account.
-
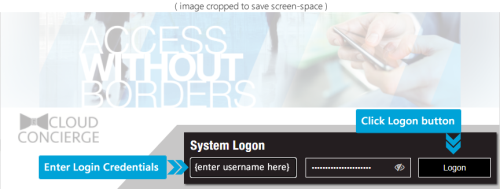
Open the LaunchPoint window, and enter the User Name and Password, and click the Logon button.
-
If this is the first login, the system will prompt user for their email and phone.

-
Click Send button to generate and send a random OTP code (plain text) to yourself.
RESULT: a random code is sent to both the phone and email at the same time.
-
When the OTP Code text arrives, enter the code into the OTP prompt and click Submit to sign in.
-
Clicking Submit will submit the OTP Code you entered.
-
Clicking Send New Code button will issue a new random OTP Code to your phone.
-
Clicking Close will exit the MFA popup message-box without logging in.
Note: clicking the eyeball icon to show/hide the code helps ensure you are typing it correctly.

-
-
If the code is rejected, the system will resend another code until you have exhausted your retry attempts.
-
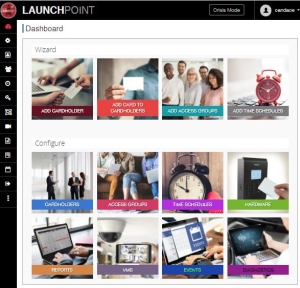
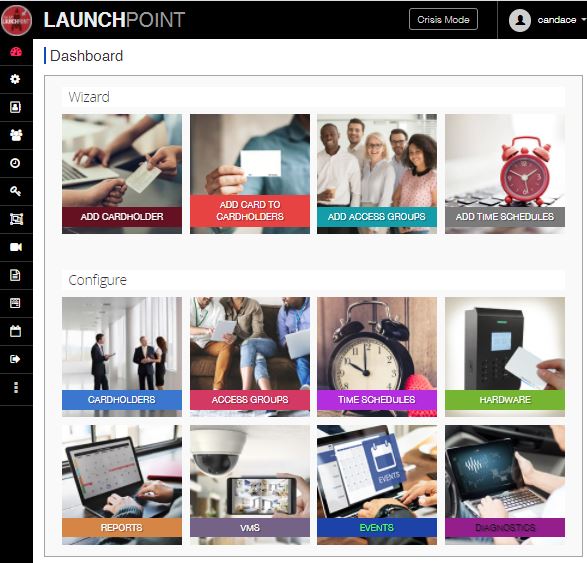
If the code is accepted, the Dashboard page will display.


Change Multi-Factor Authentication Settings
The user can update the multi-factor authentication settings from the User Settings in LaunchPoint.
-
Sign in as normal to the LaunchPoint application - this will include submitting the OTP Code when prompted.
-
Click Settings menu option, and choose User Settings > Multi-Factor Authentication from the menu.

-
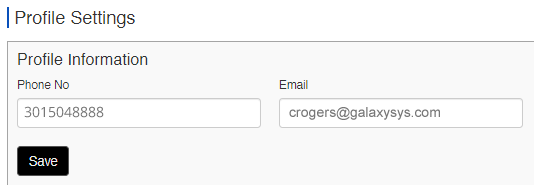
When the Profile Settings page opens, it will display the currently configured information.
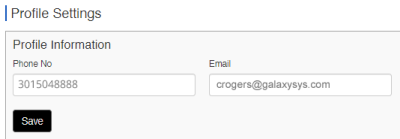
-
Enter a valid phone number in the Phone field.
-
Enter a valid email address in the Email field.
-
Click Save button and you will be prompted to confirm changes.
-
Yes = proceed with saving changes.
-
No = cancel changes.

-
-
Click YES to save changes, and you will be prompted to confirm whether to log-out or stay logged-in.
-
Yes = log-out (session will close; you need to log-in using your new info).
-
No = remain logged-in (session will remain open, you need to log-in using new info next time).

-